Basement moisture can undermine structural integrity, damage stored belongings, and create an unhealthy living environment. Properly sealing concrete block walls is one of the most effective defenses against water intrusion, mold growth, and costly repairs. This guide walks through the science behind block sealing, the steps required for a durable finish, and the maintenance practices that keep a basement dry for years to come.
Understanding the Need for Concrete Block Sealing
Concrete blocks are porous by design; they allow water vapor to pass through, which can become problematic when groundwater pressure builds up against a basement wall. Without a barrier, water can seep in through tiny gaps, joints, or cracks, leading to:
- Visible damp spots and staining on interior walls.
- Accelerated corrosion of steel reinforcement.
- Growth of mold and mildew that affect indoor air quality.
- Increased energy costs due to compromised insulation.
Addressing these issues early not only protects the home’s foundation but also preserves resale value. For a comprehensive look at why sealing matters, discover expert strategies here.
Choosing the Right Sealant System
A successful sealing project begins with selecting a product that matches the specific conditions of the site. Factors to consider include soil moisture levels, the age of the structure, and any existing water damage.
Common Sealant Types
- Penetrating Sealers: Low-viscosity chemicals that soak into the block’s pores, creating a water-repellent barrier while allowing the wall to breathe.
- Coating Sealers: Thick, film-forming membranes applied to the exterior surface. They provide a physical shield against hydrostatic pressure.
- Hybrid Systems: Combine a penetrating primer with a coating top-coat for maximum protection.
When evaluating options, learn about our tailored solutions that blend performance with ease of application.
Step-by-Step Process for Sealing Concrete Block Walls
A systematic approach ensures consistent coverage and long-term durability. The following sequence reflects industry-best practices.
1. Site Assessment and Preparation
- Inspect the exterior wall for cracks, spalling, or efflorescence.
- Clean the surface using a pressure washer or stiff-bristle brush to remove dirt, mortar residue, and loose particles.
- Repair defects with a compatible hydraulic cement or epoxy filler; allow sufficient curing time.
2. Moisture Testing
- Conduct a calcium chloride test or use a moisture meter to verify that the wall is dry enough for sealant application.
- If moisture levels exceed recommended thresholds, consider installing a drainage system before proceeding.
3. Primer Application (If Required)
- Apply a penetrating primer to enhance adhesion, especially on older or heavily saturated blocks.
- Follow manufacturer-specified drying times, typically 24-48 hours.
4. Sealant Installation
- For penetrating sealers, use a low-pressure sprayer to achieve uniform saturation.
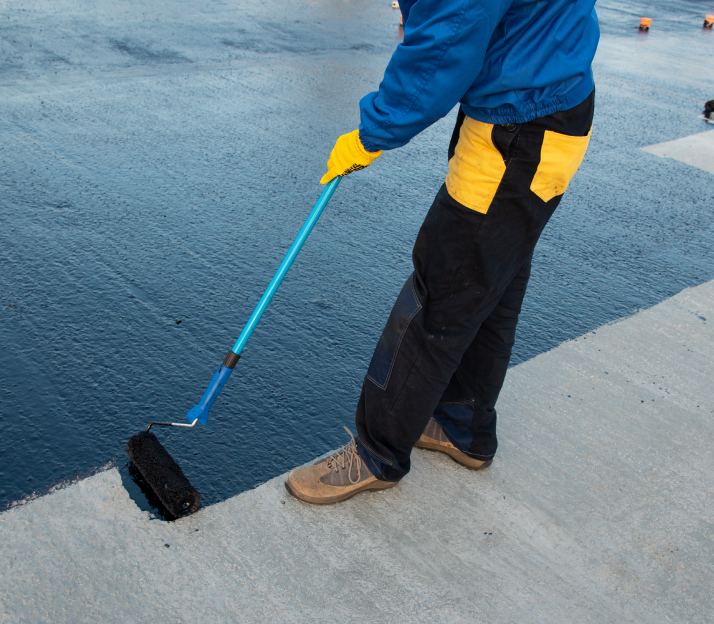
- For coating systems, apply the first coat with a roller or brush, ensuring a smooth, even layer.
- Allow the first coat to cure, then apply a second coat for added thickness and redundancy.
5. Quality Assurance
- Perform a water spray test on a small area to confirm that water beads and runs off.
- Document the work with photos and a checklist for future reference.
For a deeper dive into each step, explore advanced guides and tips that detail equipment selection and safety considerations.
Maintenance Practices to Extend Seal Longevity
Even the best sealant will degrade over time if the surrounding environment is neglected. Routine maintenance helps preserve the barrier and catch emerging issues before they become costly.
- Inspect the exterior wall annually for new cracks or coating delamination.
- Keep the grading around the foundation sloped away from the house to reduce hydrostatic pressure.
- Ensure gutters and downspouts discharge water at least 6″?feet from the foundation.
- Reapply a top-coat every 5-7 years, or sooner if visual wear is evident.
For ongoing support and recommended service intervals, find out more about this approach.
Cost Considerations and Return on Investment
While sealing concrete block walls requires an upfront investment, the financial benefits often outweigh the expense:
- Reduced utility bills due to improved insulation and moisture control.
- Lower repair costs from avoided water damage and mold remediation.
- Higher property resale value because a sealed basement is a strong selling point.
A well-executed sealing project can pay for itself within a few years, especially in regions with high groundwater tables. Detailed cost breakdowns and financing options are discussed in the ultimate guide to sealed basements.
Final Thoughts
Concrete block sealing is not merely a cosmetic upgrade; it is a critical component of a resilient home envelope. By selecting the appropriate sealant system, following a disciplined application process, and committing to regular upkeep, homeowners can safeguard their basements against moisture intrusion for decades. For further information, case studies, and professional consultation, discover expert strategies here.
About the Author